HOME
CODE CAMP BLOG
$1 COACHING
JOIN THE CODE ZONE COMMUNITY
CONTACT US
Sign up
Login
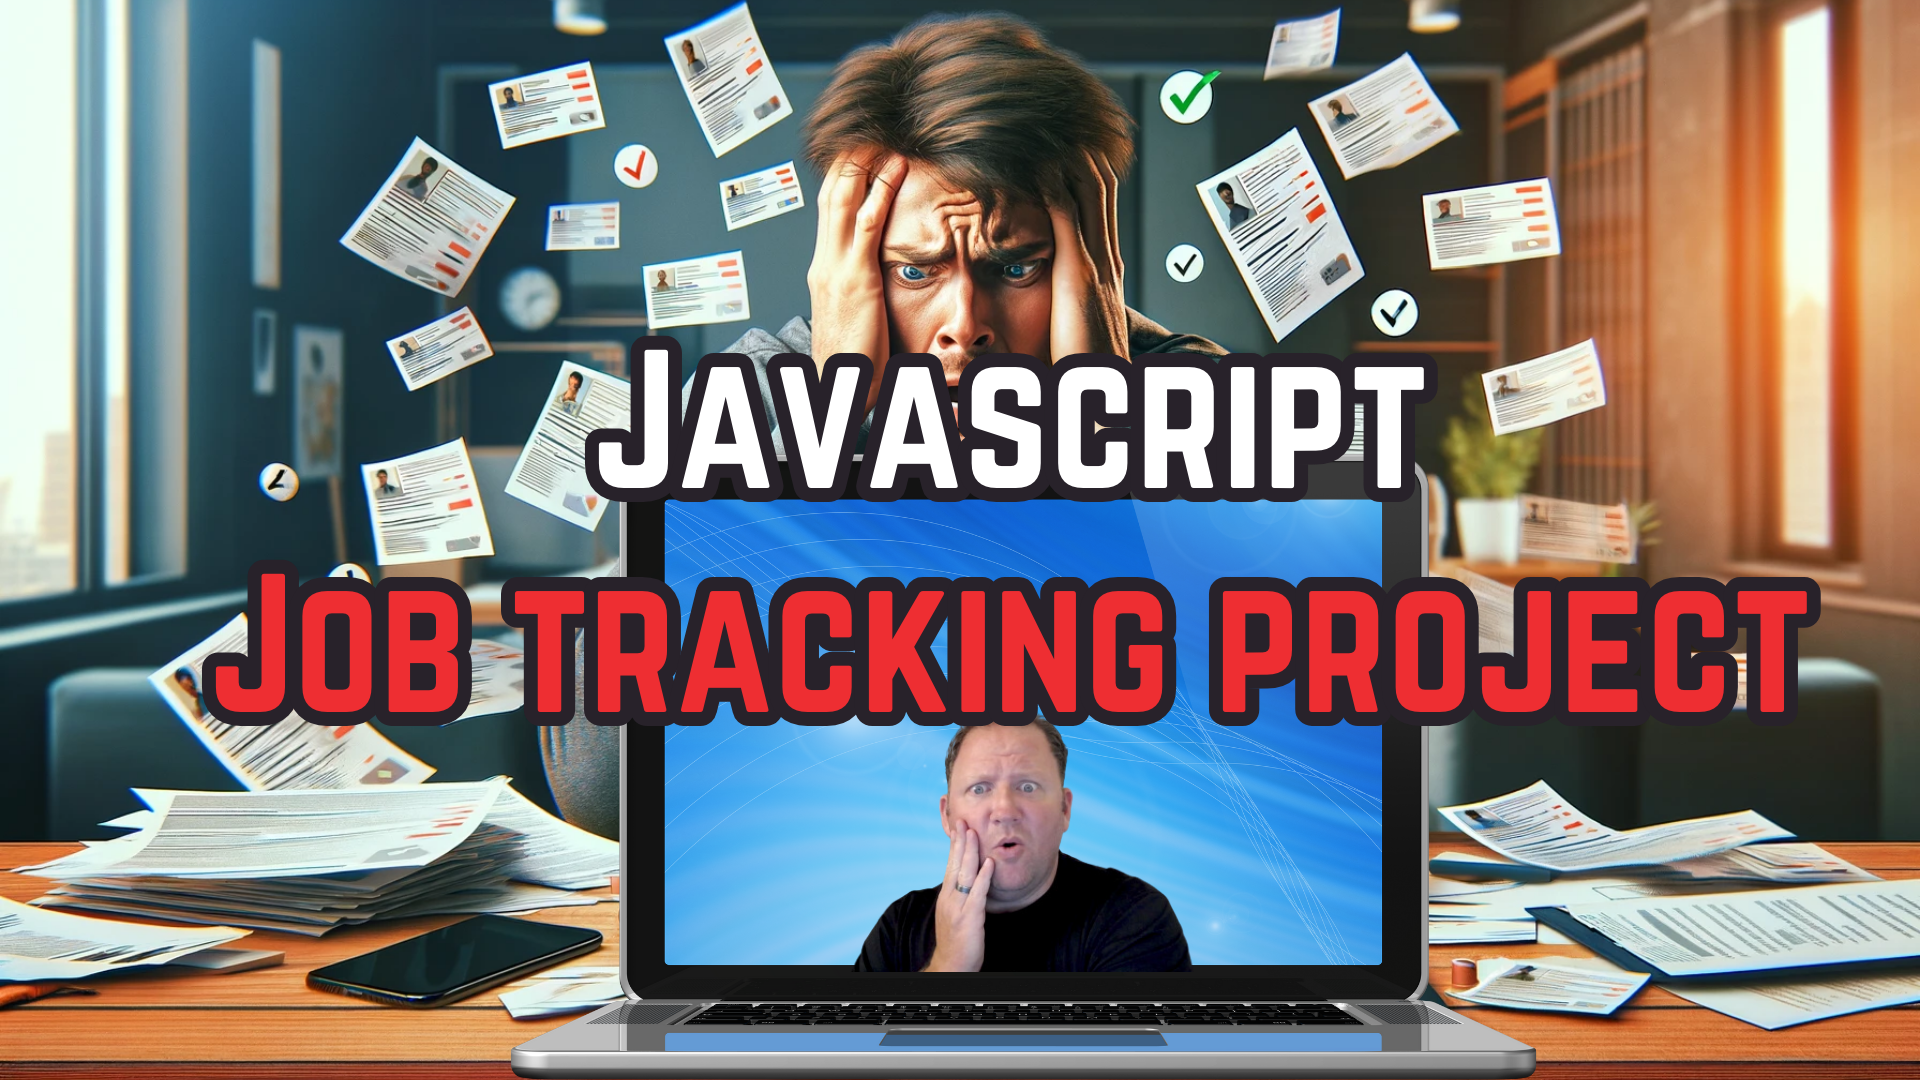
Job Hunting? Build This JavaScript Tracker to Stay Organized!
1. Project Overview
2. Setting Up The Project
3. Creating Our First Class
4. Adding Event Listeners to the Form
5. Collecting Form Data
6. Adding New Job Applications
7. Displaying Job Applications
8. Saving to Local Storage
9. Loading from Local Storage
10. Adding a Delete Button
11. Testing the Delete Button
12. Final Thoughts
Job Hunting? Build This JavaScript Tracker to Stay Organized!
4 minute read
Related Posts
Mastering Loops in JavaScript: Why, What, and How
Mastering Average Calculation in JavaScript
Create a Filtered List from an Input Field in JavaScript
A Culinary Journey in Code: Asynchronously Hamburger or Fries?
Understanding Type Coercion in JavaScript